Mic Arm Buying: Spring vs Boom, Desk Clamps and Cable Routing
The microphone gets the reviews; the arm decides whether the setup survives them. A wrong-spec arm droops by week two, rattles on every keystroke, or simply never fits the desk — and all three failures read as one star on the microphone's listing. Arm buying is a measurements business, and this article turns it into a checklist: mechanisms, clamp fit, load, and the cable routing that keeps it all quiet.
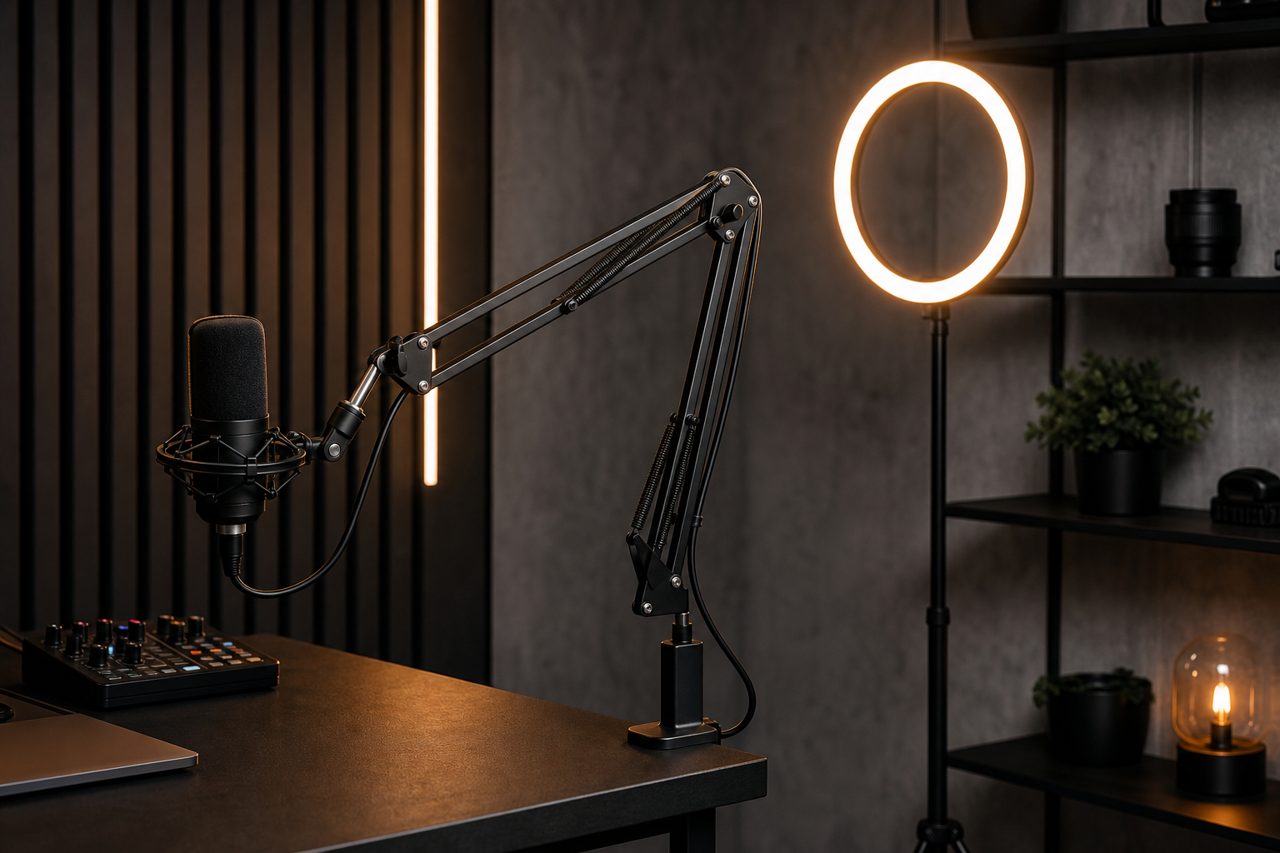
The category's return reasons are unusually predictable, which makes it unusually improvable. Arms come back for four causes in roughly this order: the clamp does not fit the desk, the arm cannot hold the microphone-and-shock-mount combination, the joints sag or slip after early enthusiasm, and cables routed as an afterthought transmit bumps into the recording. Every one of those is preventable at the listing stage with numbers the buyer can check before ordering — no lab, no judgment calls, just measurements stated honestly on both sides of the transaction.
Spring versus boom: the two mechanisms
Microphone arms move in two ways, and the difference is mechanical, not stylistic. A standard boom locks position at each joint — a collar at the base, a hinge at the elbow — and holds because friction and locking force keep the segments where they were set. A constant-tension spring arm does away with the locks: a spring running through the arm supports the load continuously, so the whole arm repositions with a light pull and holds wherever it is left.
| Dimension | Constant-tension spring arm | Jointed boom arm |
|---|---|---|
| Positioning | Instant, one-handed; no locks to operate | Segment by segment; collars and hinges adjusted in turn |
| Holding behavior | Spring supports the load along the whole arm | Rigid once locked; holds only at the positions set |
| Touch-noise transmission | Higher; the spring carries vibration to the mic | Lower; locked joints isolate handling sound |
| Heavy rigs | Needs a spring rated for the load; sags if underspecified | Better margin; locking force scales with collar quality |
| Wear pattern | Spring tension fades slowly over long use | Collars and hinges loosen with adjustment cycles |
| Typical fit | Light USB mics, frequent repositioning, casual desks | Broadcast-style rigs, shock mounts, fixed positions |
Neither design wins overall; each wins a customer. The practical rule for catalogs is to stock both classes and write the buyer's workflow into the listing: pull-and-place customers belong on the spring, set-and-forget customers on the boom.
Desk clamps: the fit that decides everything
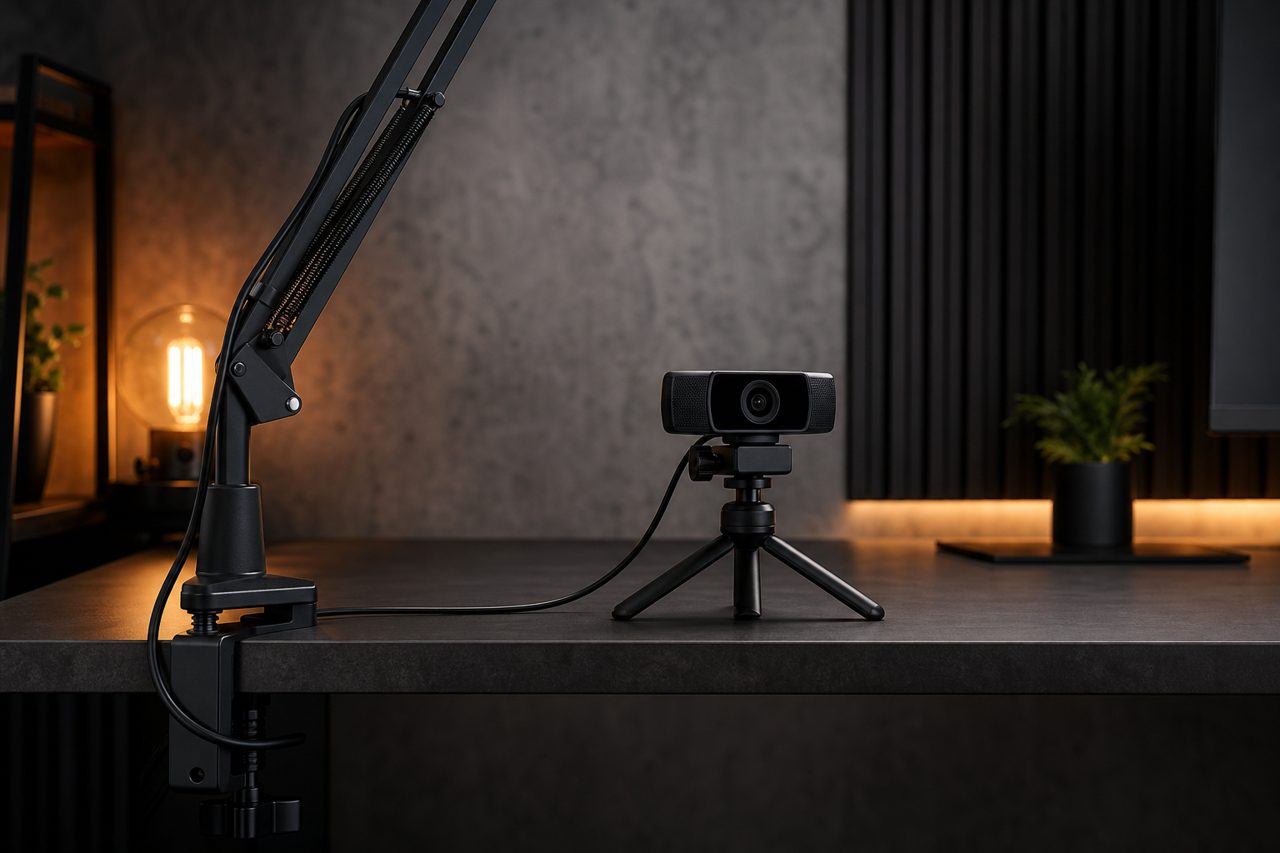
The clamp is where arms actually fail commercially, because the desk — not the microphone — is the mating surface. Two mount types dominate. The C-clamp grips the desktop edge from above and below with a threaded bolt; the grommet mount drops through a hole in the desk and bolts underneath, where a cable grommet already exists. Both depend on numbers the buyer owns and the listing must ask for:
| Parameter | What to verify | Common pitfall |
|---|---|---|
| Desk thickness | Measure at the clamping point; the clamp's opening range must cover it | Thickness varies across one desk; edges and aprons differ from the center |
| Under-desk clearance | Depth below the edge for the clamp body and bolt | Drawers, cable trays and crossbars block full-depth clamp bodies |
| Edge construction | Solid wood, particle board, metal frame or glass | Glass and soft edges need spreading pads or grommet hardware instead |
| Mount type available | C-clamp versus grommet hole diameter | Buyers with no grommet receive a mount they cannot install |
Listings that publish the clamp's opening range and ask for one measurement — desk thickness at the mounting point — eliminate the largest single return reason in this category before the order is placed.
Load, reach and the droop equation
Droop is arithmetic. The load is the microphone plus its shock mount, weighed together; the reach is how far the arm extends horizontally, because the same weight stresses an arm more as it extends. A rig that sags is almost always one of three mismatches: a load above the arm's real holding force, a reach longer than the arm was designed for, or collars that were never fully tightened in the first place. Counterweighted boom arms push back against the load and hold heavier combinations at full reach; spring arms must be matched by spring rating rather than hope. The listing fix is the same for every design: state the load rating, state it as microphone-plus-mount, and say what happens at full extension.
Cable routing: the quiet differentiator
Routing looks cosmetic and is not. A cable strapped loosely along an arm is a diaphragm for every bump on the desk — it transmits knocks into the recording and snag into the joints. Built-in internal channels, where the cable runs inside the arm's sections, solve both at once and are worth their small cost premium on any arm destined for recorded audio. External clips are the budget route and work if they are spaced densely enough to prevent sway. The listing should state the channel or clip capacity in cable terms — which cable diameters fit, whether a thick professional mic cable or only slim USB cable passes — because routing claims that fail at installation read as product defects. On the desk side, leaving slack where the arm pivots keeps joints from straining their own cable, and a cable leaving the arm perpendicular to the desk edge is the one that survives months of daily pulls.
The buyer's checklist
- Measure desk thickness at the intended clamping point, and check under-desk clearance for the clamp body.
- Weigh the microphone and shock mount together; compare to the arm's stated load, not its looks.
- Decide the workflow: frequent repositioning favors a spring arm, fixed broadcast positions favor a boom.
- Check reach honestly — where should the mic sit, and can the arm hold the load there, not just retracted.
- Confirm the mount type the desk allows: C-clamp, grommet, or neither.
- Plan the cable path before buying: internal channel, clip spacing, and connector diameters that must pass through.
- For shared or rented desks, prefer grommet-free portable bases or a boom with a low-profile clamp, since drilling and over-clamping are not options.
Listing advice for arm sellers
- Publish the three numbers buyers need: clamp opening range, load rating (microphone plus mount), maximum reach at rated load.
- Name the mechanism plainly — spring or boom — and describe the workflow each suits instead of adjectives.
- State cable routing in cable terms: channel diameter or clip count and the cable sizes that actually fit.
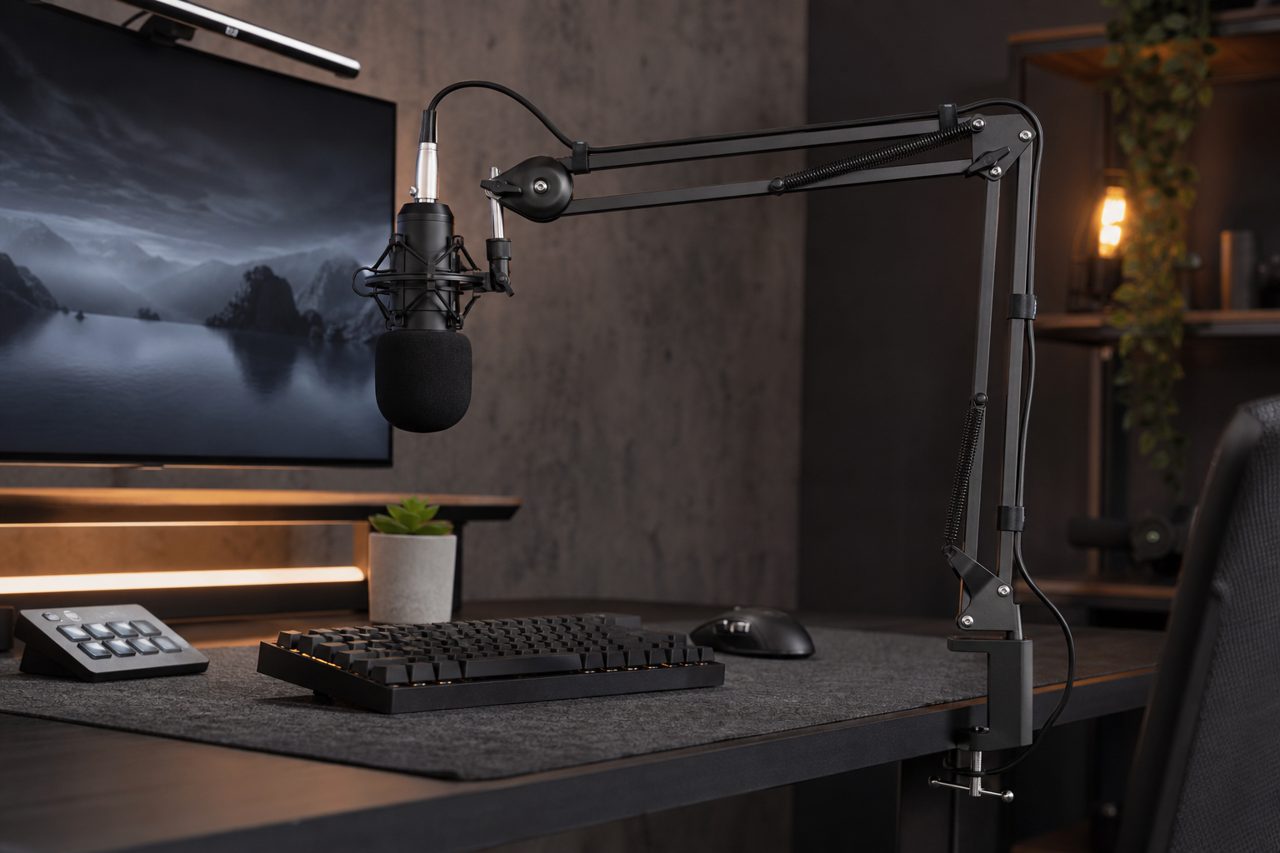
- Photograph the arm installed on a real desk, from the buyer's seated angle, and one under-desk shot of the clamp.
- Bundle honestly: arm plus microphone is the natural kit, provided the load math for that exact pairing is stated in the kit's listing.
The sourcing bottom line
Arms are a measurements product: clamp range, load, reach, routing — four numbers, honestly stated, return-proof the listing. The microphone it carries is specification-sensitive in its own ways, covered in the USB microphone sourcing guide. Current arm models ship from a single piece for validation through dropshipping, with stock dispatched within 48 hours; logo and packaging customization starts at 500 pieces per SKU and full OEM at 1,000 pieces per SKU, with sampling in 5-7 days for light customization. The lineup sits on the creator gear category page, and the customization path on the OEM/ODM page.
FAQ
Which holds position better, a spring arm or a standard boom?
Both hold when matched to the load; they fail differently. Spring arms position instantly but transmit more touch noise, and they sag when the spring is underspecified. Jointed booms lock rigidly and isolate handling better, at the cost of slower adjustment and collars that loosen over time. Heavy microphone-plus-shock-mount rigs are safer on a quality boom; light setups favor the spring.
Why does my mic arm keep drooping or slipping?
It is arithmetic, not bad luck: the load exceeds the arm's real holding force, the reach extends past design, a collar was never fully tightened, or the clamp has shifted on an unsuitable edge. Weigh the microphone with its mount, shorten the reach, re-torque every collar, and re-check the clamp fit. If it still drifts, the arm is underspecified.
What desk information should be checked before ordering an arm?
Three numbers: desk thickness at the clamping point against the clamp's opening range, under-desk clearance for the clamp body and bolt, and the edge construction — glass and soft edges need different hardware. Buyers who check these almost never file fitment returns, which is why listings should ask for them.